BLOG

5 Camera Settings for Beginner Videographers
5 Camera Settings for Beginner Videographers
In this post, I’m going to show you 5 camera settings for beginner videographers. So you’re a photographer who’s ready to break into video! Congratulations! Let's go over 5 simple camera menu settings to get your gear ready to shoot video.
Before we dive in, head to my YouTube channel and hit the subscribe button. It's your go-to place for all things video education. You can also see the information in this post in video form!
The first three settings are likely controlled by buttons on the top of back of your camera housing.
Step 1: Manual Mode
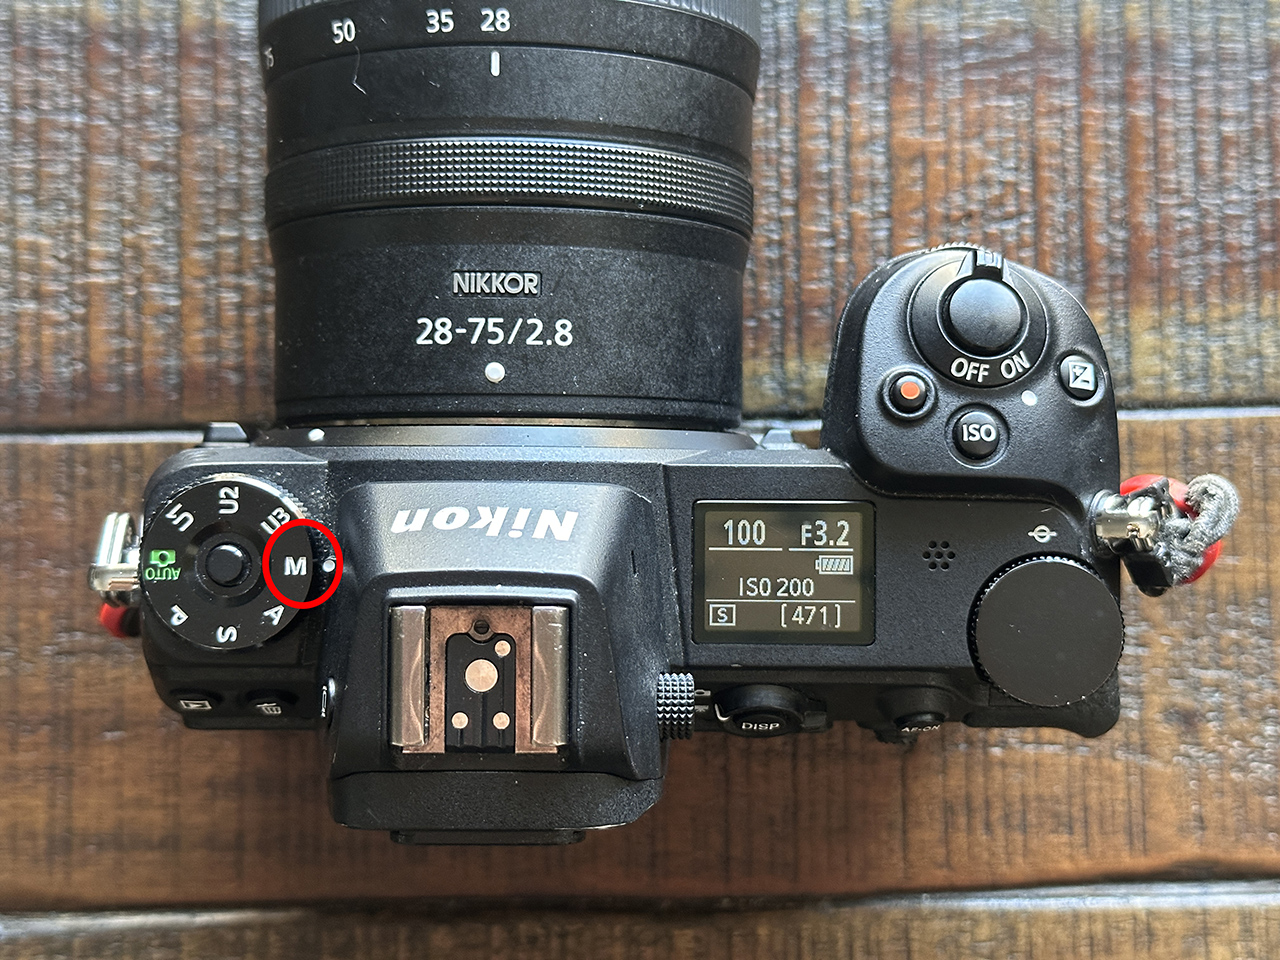
First, make sure you’re shooting in manual mode. If you’re a photographer who already shoots in manual, this will be a no-brainer for you. We want the ability to set the Aperture and Shutter Speed and do not want our settings hopping around if we shift light, as it would if you were in auto, aperture priority or shutter priority mode.
Step 2: Video Mode
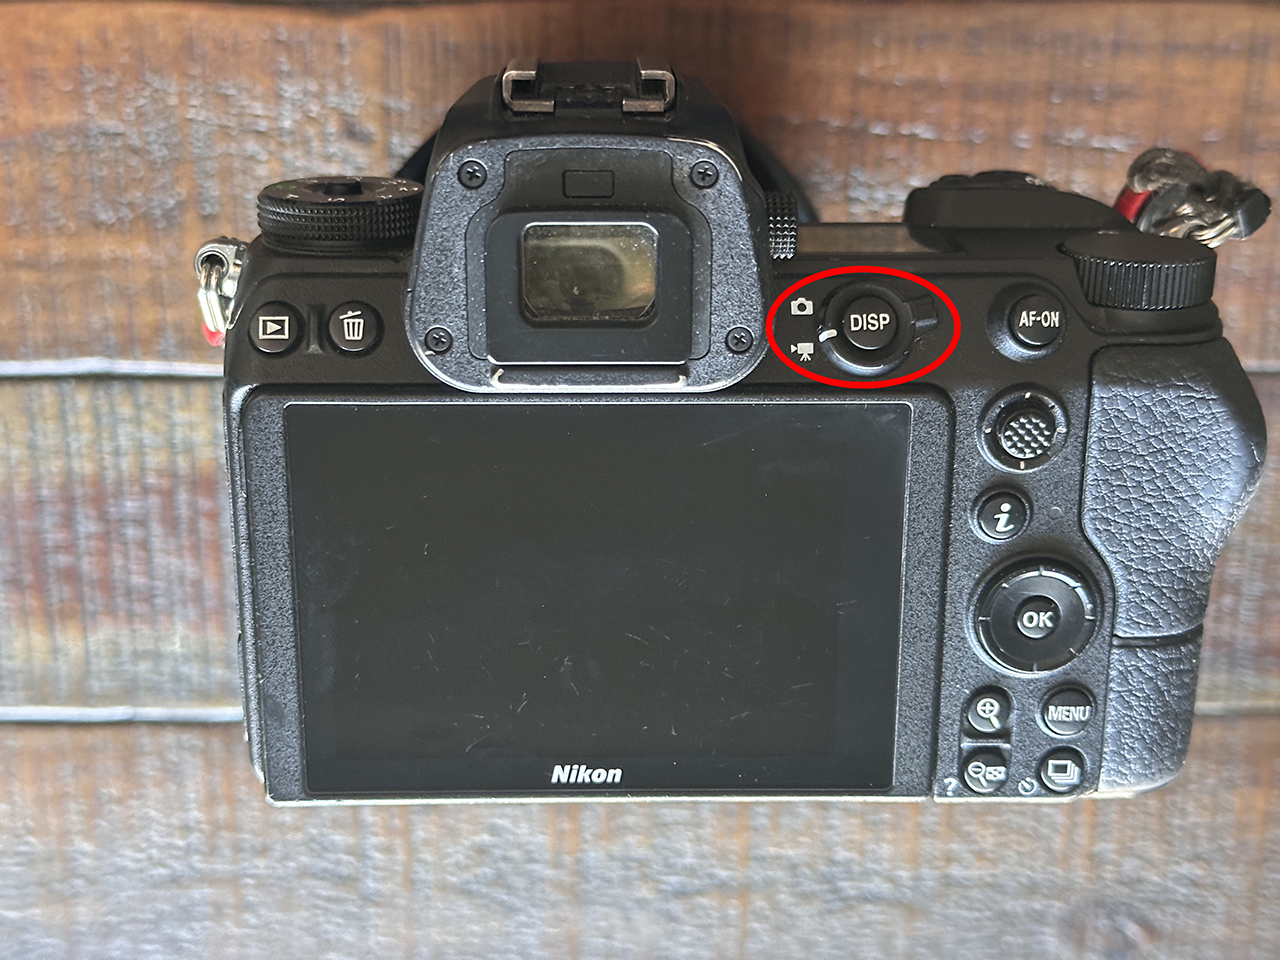
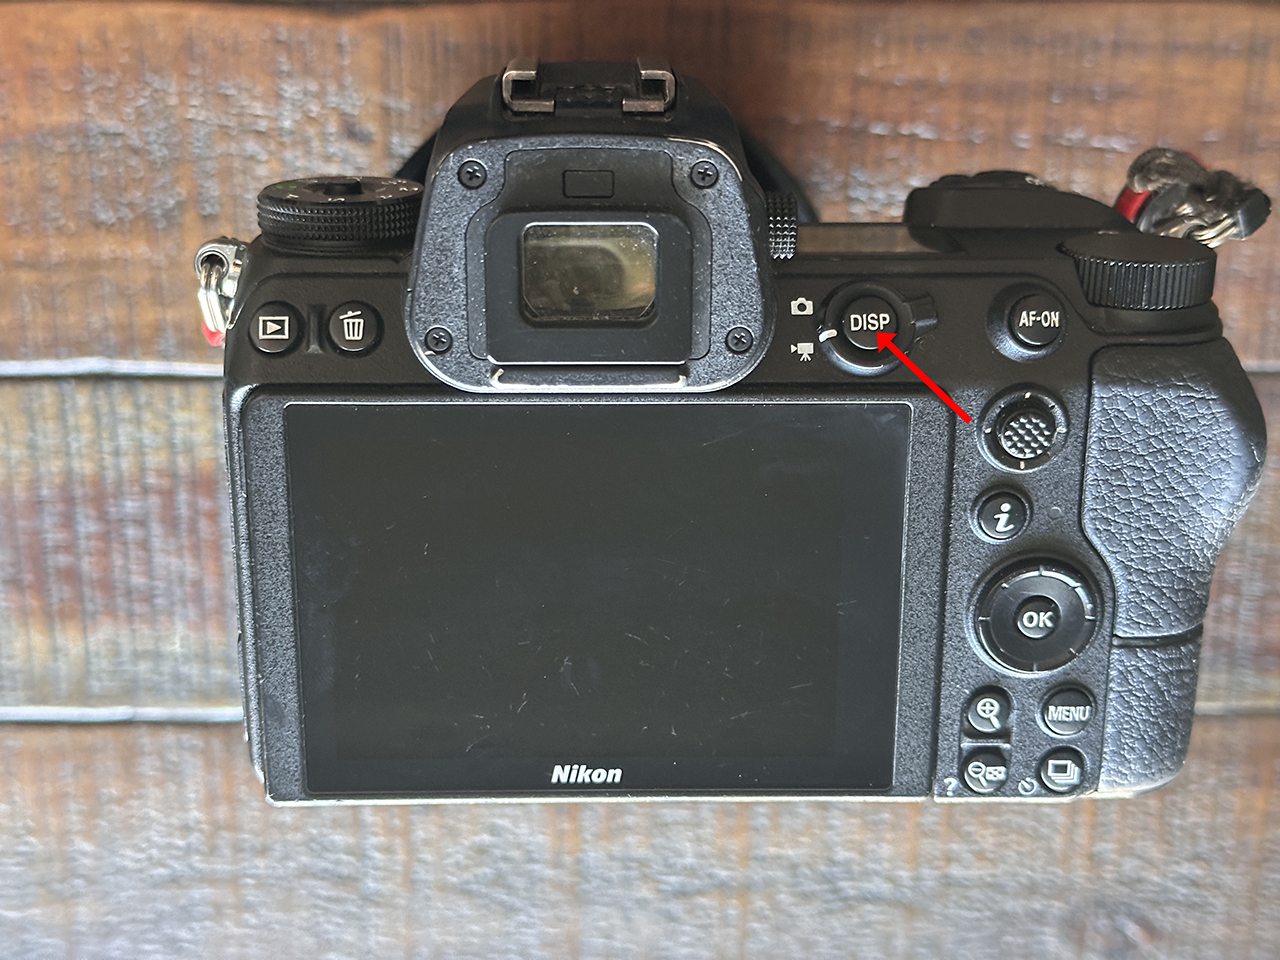
The second thing you’ll want to find is your camera’s video mode control. Find the switch on the back or top of your camera that allows you to toggle between photo and video. Don’t see it? Depending on your camera, it may be in the menu. Refer to your camera’s manual when in doubt. Or, head to the good 'ol internet to search your camera model to find out the location of the video mode control.
Step 3: Live View Mode
Next, you’ll want to switch your camera to live view mode. This will show what you’re filming onto your LCD screen so you can compose your shot and focus. Most cameras will automatically switch to Live View Mode when you enter Video Mode. Refer to your manual if you’re not sure how to do it. (Or again, the internet!)
The last two settings we'll cover can be found in your camera's menu. Enter your camera’s menu and go to the video settings menu.
Step 4: Flicker Reduction
Toggle to “Flicker Reduction”. Let’s talk about NTSC vs PAL and flicker reduction.
Different countries use different electricity frequencies. The USA and some countries use 60 Hz frequency. Those shooting in these countries should set their camera to NTSC. Countries that use 50 Hz frequency, like most of Europe, should set their camera to PAL.
This is essential so the camera refreshes at the same rate as the light source in the environment you’re filming. Using the wrong rate will result in a banded look or what we call Flicker and there’s no fix in post production, believe me here, I learned this one the hard way.
Step 5: Movie File Type
The last setting we’re going to ensure we have set is the movie file type. Specifically, MOV vs MP4. Find the menu item likely labeled Movie File Type. Files filmed in .MOV are higher in quality and larger in size. The only way to shoot 4K is to use .MOV movie file type.
Files filmed in .MP4 are compressed and smaller in size. I personally always use .MOV and you should too. Why skimp on quality when digital is easy and generally cheap to store? Even if you're just practicing, it's better to practice your editing skills on a .MOV file so you can familiarize yourself with it's parameters before taking on client work.
Pat Yourself on the Back
See? That wasn’t so hard was it? These five settings are essential when shooting video and settings you can set and forget. There are a few more basics you’ll want to learn before hitting that record button. If you’re ready, you’ll want to check out my next posts about Resolution and Frame Rates.
Next up, learn Resolution and Frame Rate!
Both coming soon!
EMERALD RUE, FAMILY FILMS & PHOTOGRAPHS | [email protected]
Copyright 2025 Jennifer Martodam Creative, LLC
