BLOG
Digital Image Pro Tips
Digital Image Pro Tips
Don't let your photographs die a JPEG death!
Katie, my best friend, and I browsed the Target aisles to pass the time. We'd both finished a roll of 35mm film from our fifth-grade trip to the cities. Our matching $10 cameras were strung around our necks, hers purple, mine teal green.
Now, we waited for the one-hour photo lab to develop our treasured memories. Passing the time, we flipped through books and magazines. We chatted about our trip and how embarrassing it would have been to throw up on the bus.
Katie checked her watch and looked at me, eyes wide as she grabbed my arm and pulled me toward the front of the store. Giggling like only ten-year-olds can, we took our packets from the cashier and immediately tore them open.
Suddenly, the sharp smell of the chemicals hit my nose as I ran my hand over the smooth glossy paper. The first two prints were a blurry bus full of kids, the rambunctious boys, arms outstretched, breaking the rules. Next, in the hotel room, Ann & Beth jumped on the bed, and one of all of us made funny faces.
I showed Katie as she flashed me a photo of our teacher caught off guard. For 24 colorful printed memories, we laughed and recounted our adventure, the funny thing Lindsay said, and all the snacks at the Twins game.
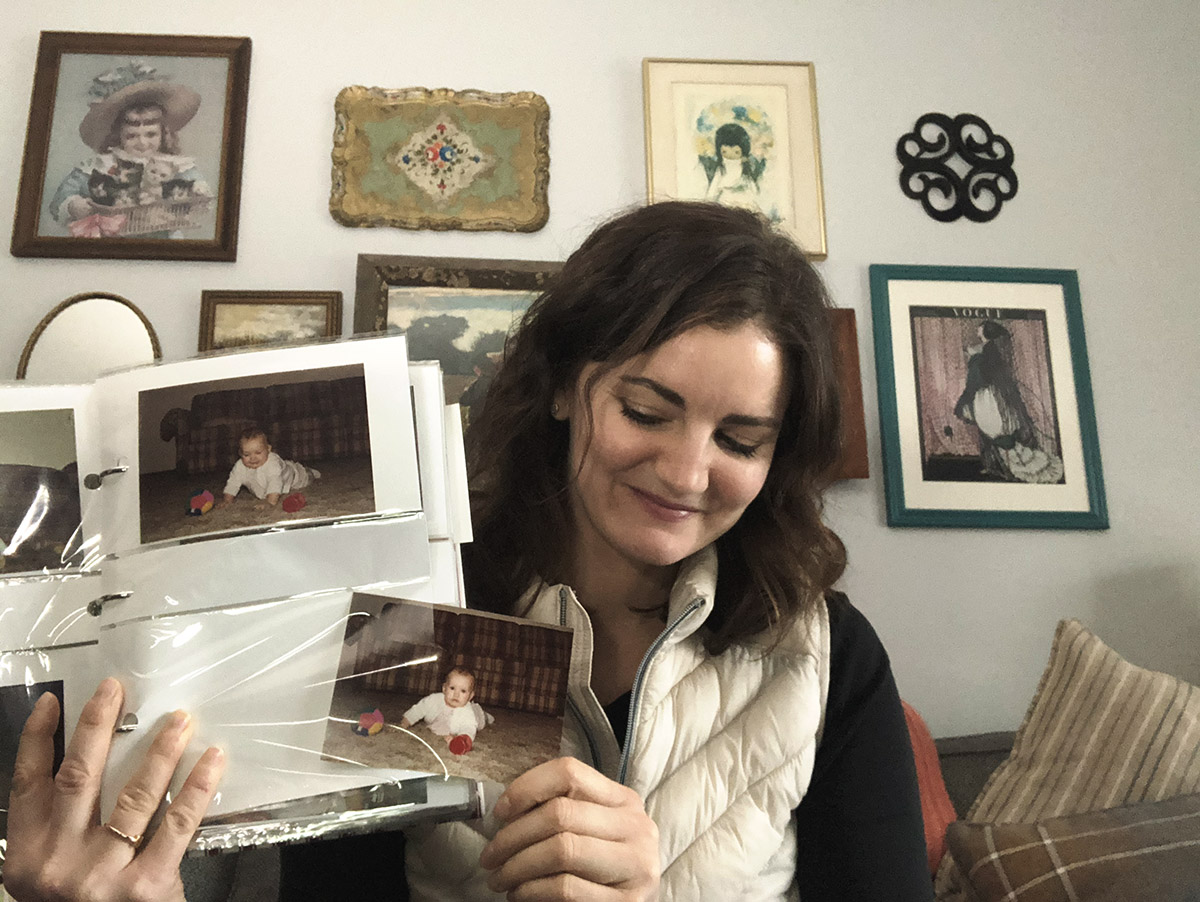
Later, we'd spend time swapping photos, placing prints into photo albums, and cementing the memories into our subconscious forever. I still have those photo albums.
Digital World Truths
In our digital world, we've strayed from physical photographs being something cherished. Gone are the days of cataloging prints in an album for all to see. Now, images live on our phones, on our computers, and in the cloud. Rarely do we print and display them.
I'm a strong advocate of printing and I've compiled a list of ways you can start organizing and displaying your photos. These digital image pro tips are for professional and personal photographs alike.
Printing & Displaying Your Photographs
Photographic Prints
For an in-depth look at my recommendations for where to print digital images, see this post.
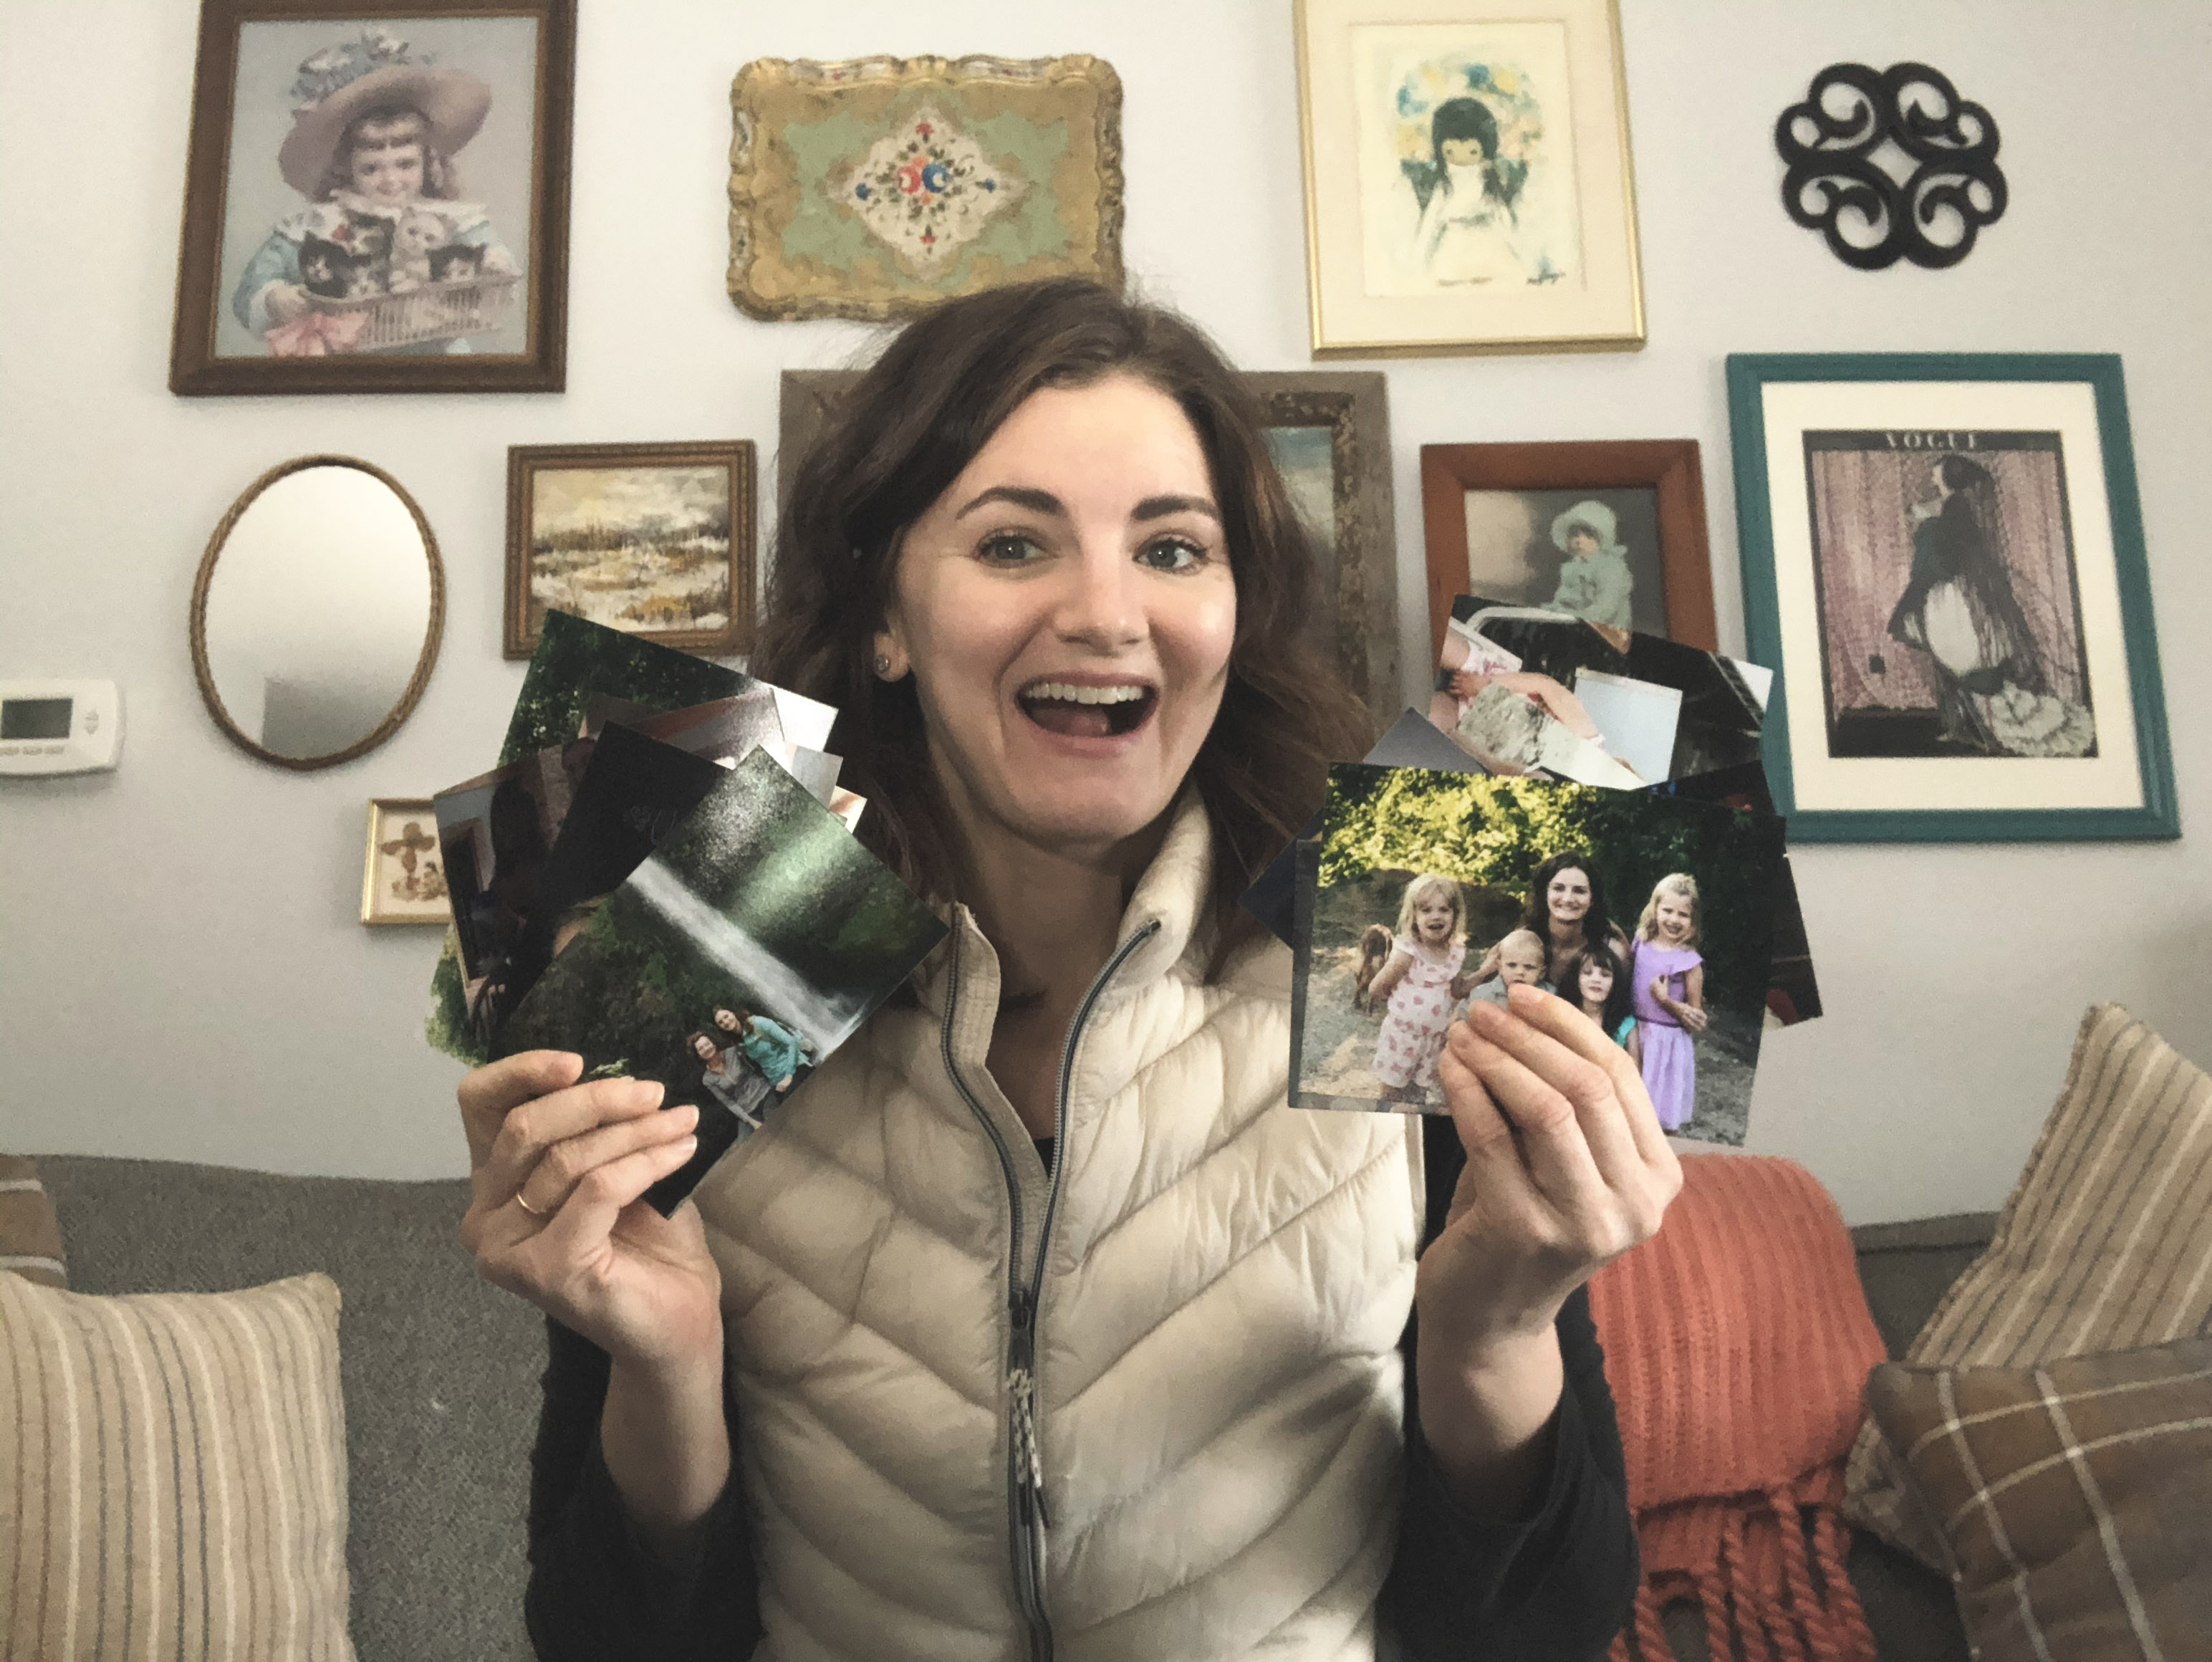
1. Classic small prints
The easiest place to start is with small prints. It's inexpensive and easy. Think 4x6, 5x7 or 8x10. Yes, 8x10 is small! You were conditioned to think it was big from JCPenney back in the day. Don't believe me? Take an 8x10 and hold it over your couch...it's tiny.
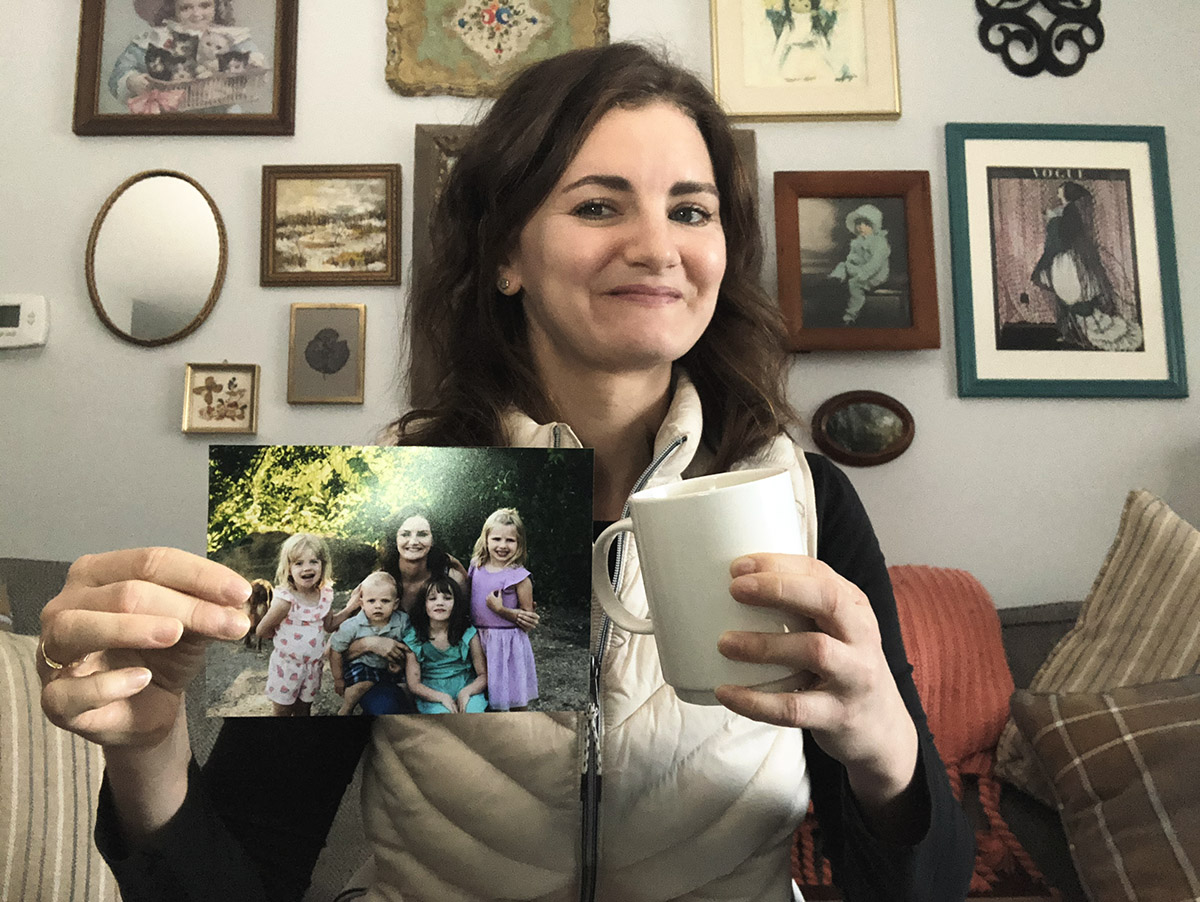
The best part is, that you don't have to print EVERY photo. Start by picking 10-15 of your favorites from an event or a summer or whatever and get prints made. Printing photographs give them meaning by becoming a tangible thing you can hold. Next, frame them, place them in a photo box, or let your kids plaster them around their room.
My recommendations for printing are mpix.com or Costco for ordering online. You DO need to have a membership to use Costco, however. Other options for pickup include Walgreens or CVS, although I've found the quality to be lacking.
Digital Image Pro Tip: If printing images from a professional photographer, be sure to uncheck the option to "auto-correct" the image. Auto-correct will mess with the color and specific edits you paid your photographer to make.
2. Larger Wall Portraits
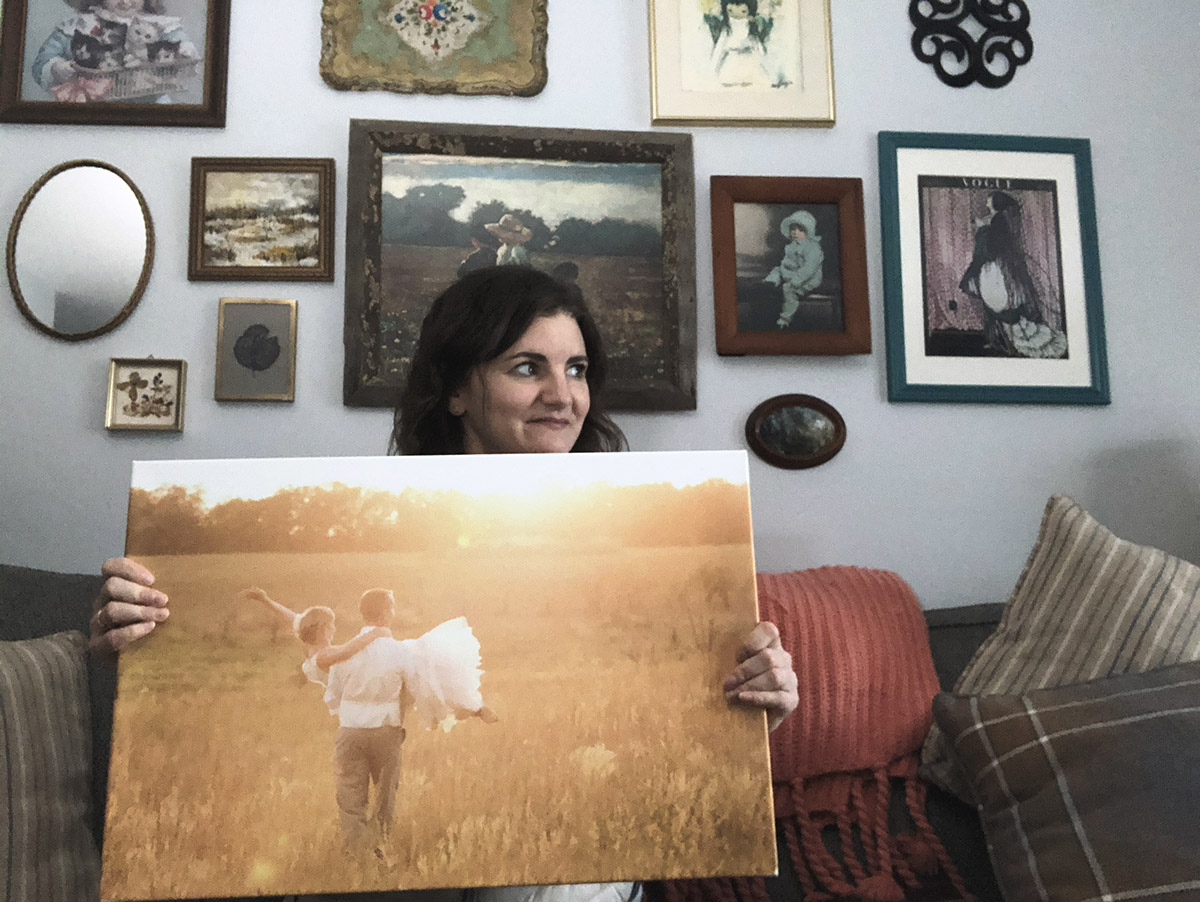
Moving along, print your favorites (professional or not) big and use them as art in your household! Frames and canvas lend themselves to putting a professional finish on your big photographs. I recommend 16x20 or larger. Or, go way outside the box and create a digital collage in Canva or similar to print or frame.
Digital Image Pro Tip: Services like Frame Bridge are a one-stop shop. Check Groupon for deals on Canvas.
Display Books
3. Print Albums
Naturally, this leads to albums, like the classic ones with sleeves that you slide the print into. They still exist! There's something nostalgic and wonderful about these. Being able to flip through your memories without messing with technology is healthy. Grab your fav at Michaels or your local craft store and organize away!
4. Scrapbooks
Scrapbooking had its heyday about a decade ago, but there are still many people who love to physically design pages. I'm talking about using papers, stickers & embellishments to design a page that'll perfectly display your images. Digital has stolen our basic urge to create and scrapbooking is a great way to reclaim it.
Also, scrapbooking is perfect for kids. They will astound you with their creativity. Plus, using scissors promotes dexterity, and organizing items to fit within a page promotes spatial awareness. Kids will learn as they create and they'll LOVE to look at their scrapbook for years to come.
Digital Image Pro Tip: Head to Facebook Marketplace or eBay to score tons of supplies for cheap!
5. Memory Books
If scrapbooks aren't your jam, design a book online to have printed! There are countless places to design and print a book, the most recognizable being Shutterfly. I find the design software on the Shutterfly site difficult to use. Hop around and read reviews! Mpix.com, Artifact Uprising, and Blurb are my favorites for personal books. Birthdays, vacations, recap a year, etc. are all ideas for utilizing these books.
One year, I designed each of my nieces an ABC of ______ book. It was 26 pages, with a letter a the top of each page and different pictures that went with said letter. For example, for the letter B, I used photos of us at a baseball game. It was time-consuming but super fun to create. Seeing their faces as they flipped through was worth it!
Other
6. Tangible Display Objects
Lastly, create usable items that display images. They make a great gift! For example, mugs, magnets, or key chains are perfect for parents, grandparents, aunts & uncles. Necklaces, lockets, or bracelets are great for kids (siblings, cousins or friends could have matching items). When I was younger, my cousin Michelle & I had necklaces that broke down the middle and we each got a half (remember those?!).
The point is, that digital images are best enjoyed when offline! Try one of these digital image pro tips to get started showcasing your memories. Your images will thank you for saving them from a JPEG death! (haha!)
EMERALD RUE, FAMILY FILMS & PHOTOGRAPHS | [email protected]
Copyright 2025 Jennifer Martodam Creative, LLC
